How to cut a 16×32 baseplate from a 32×32 baseplate – save money with this LEGO Hack!

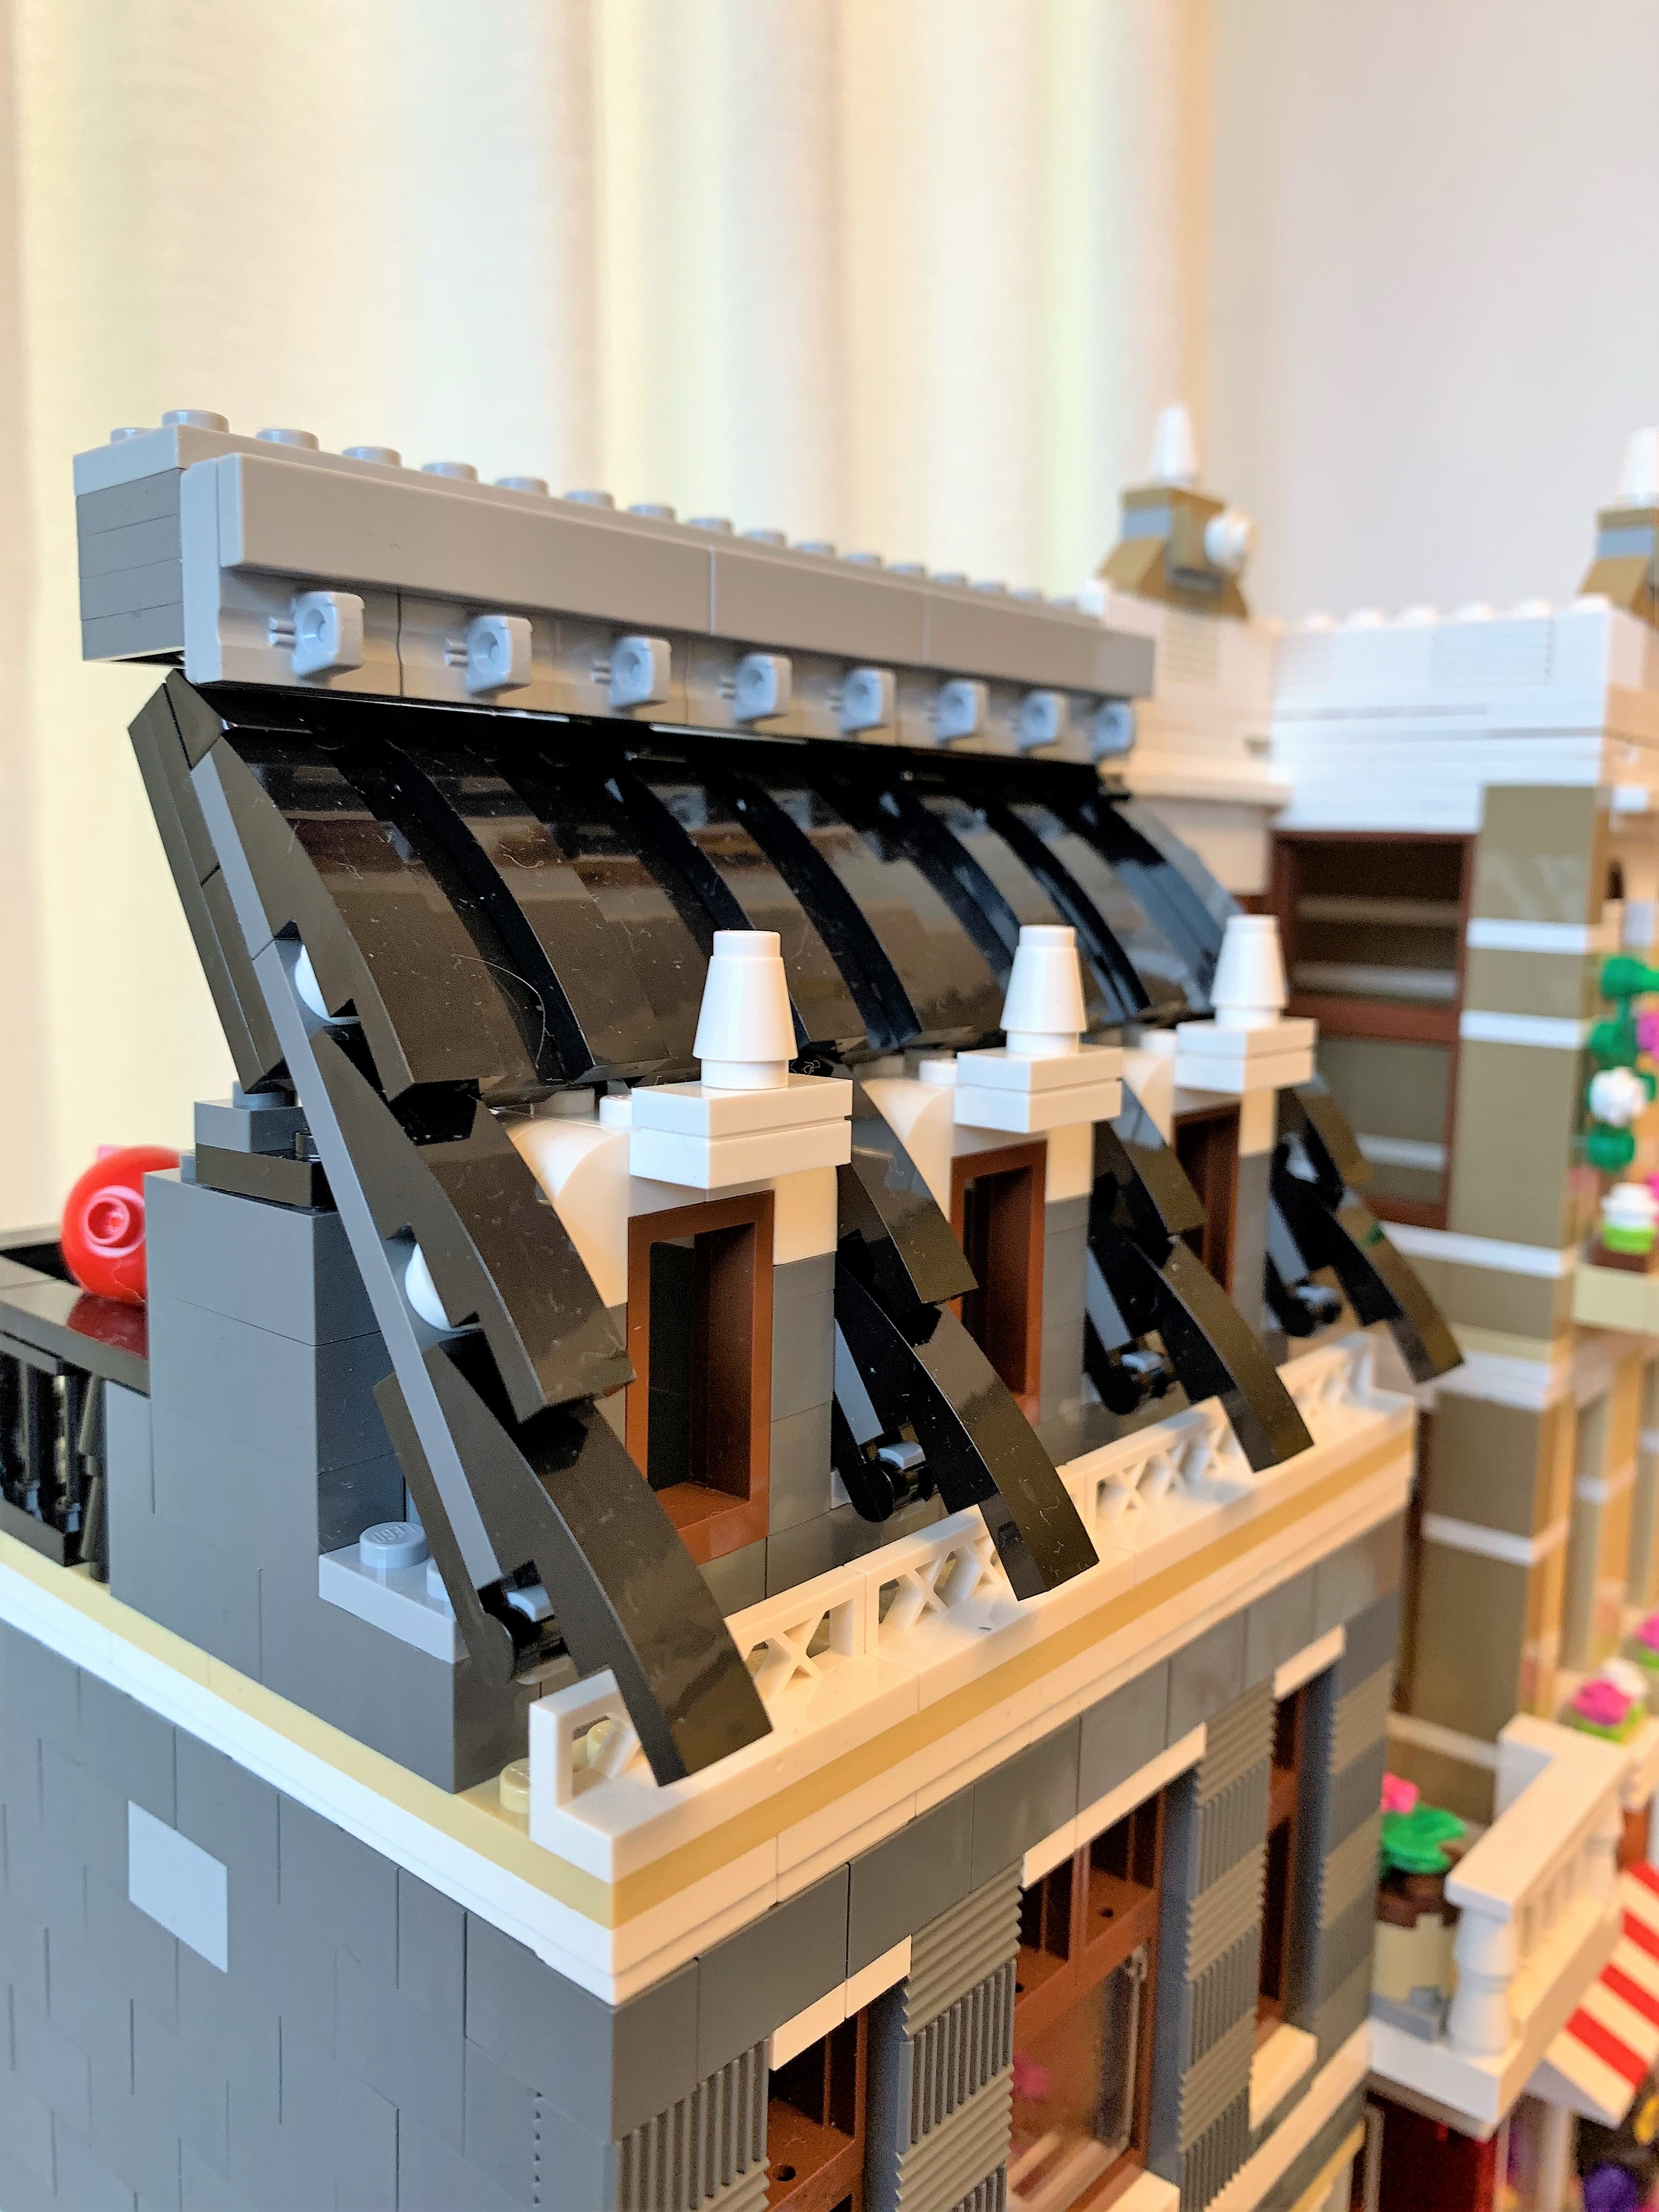
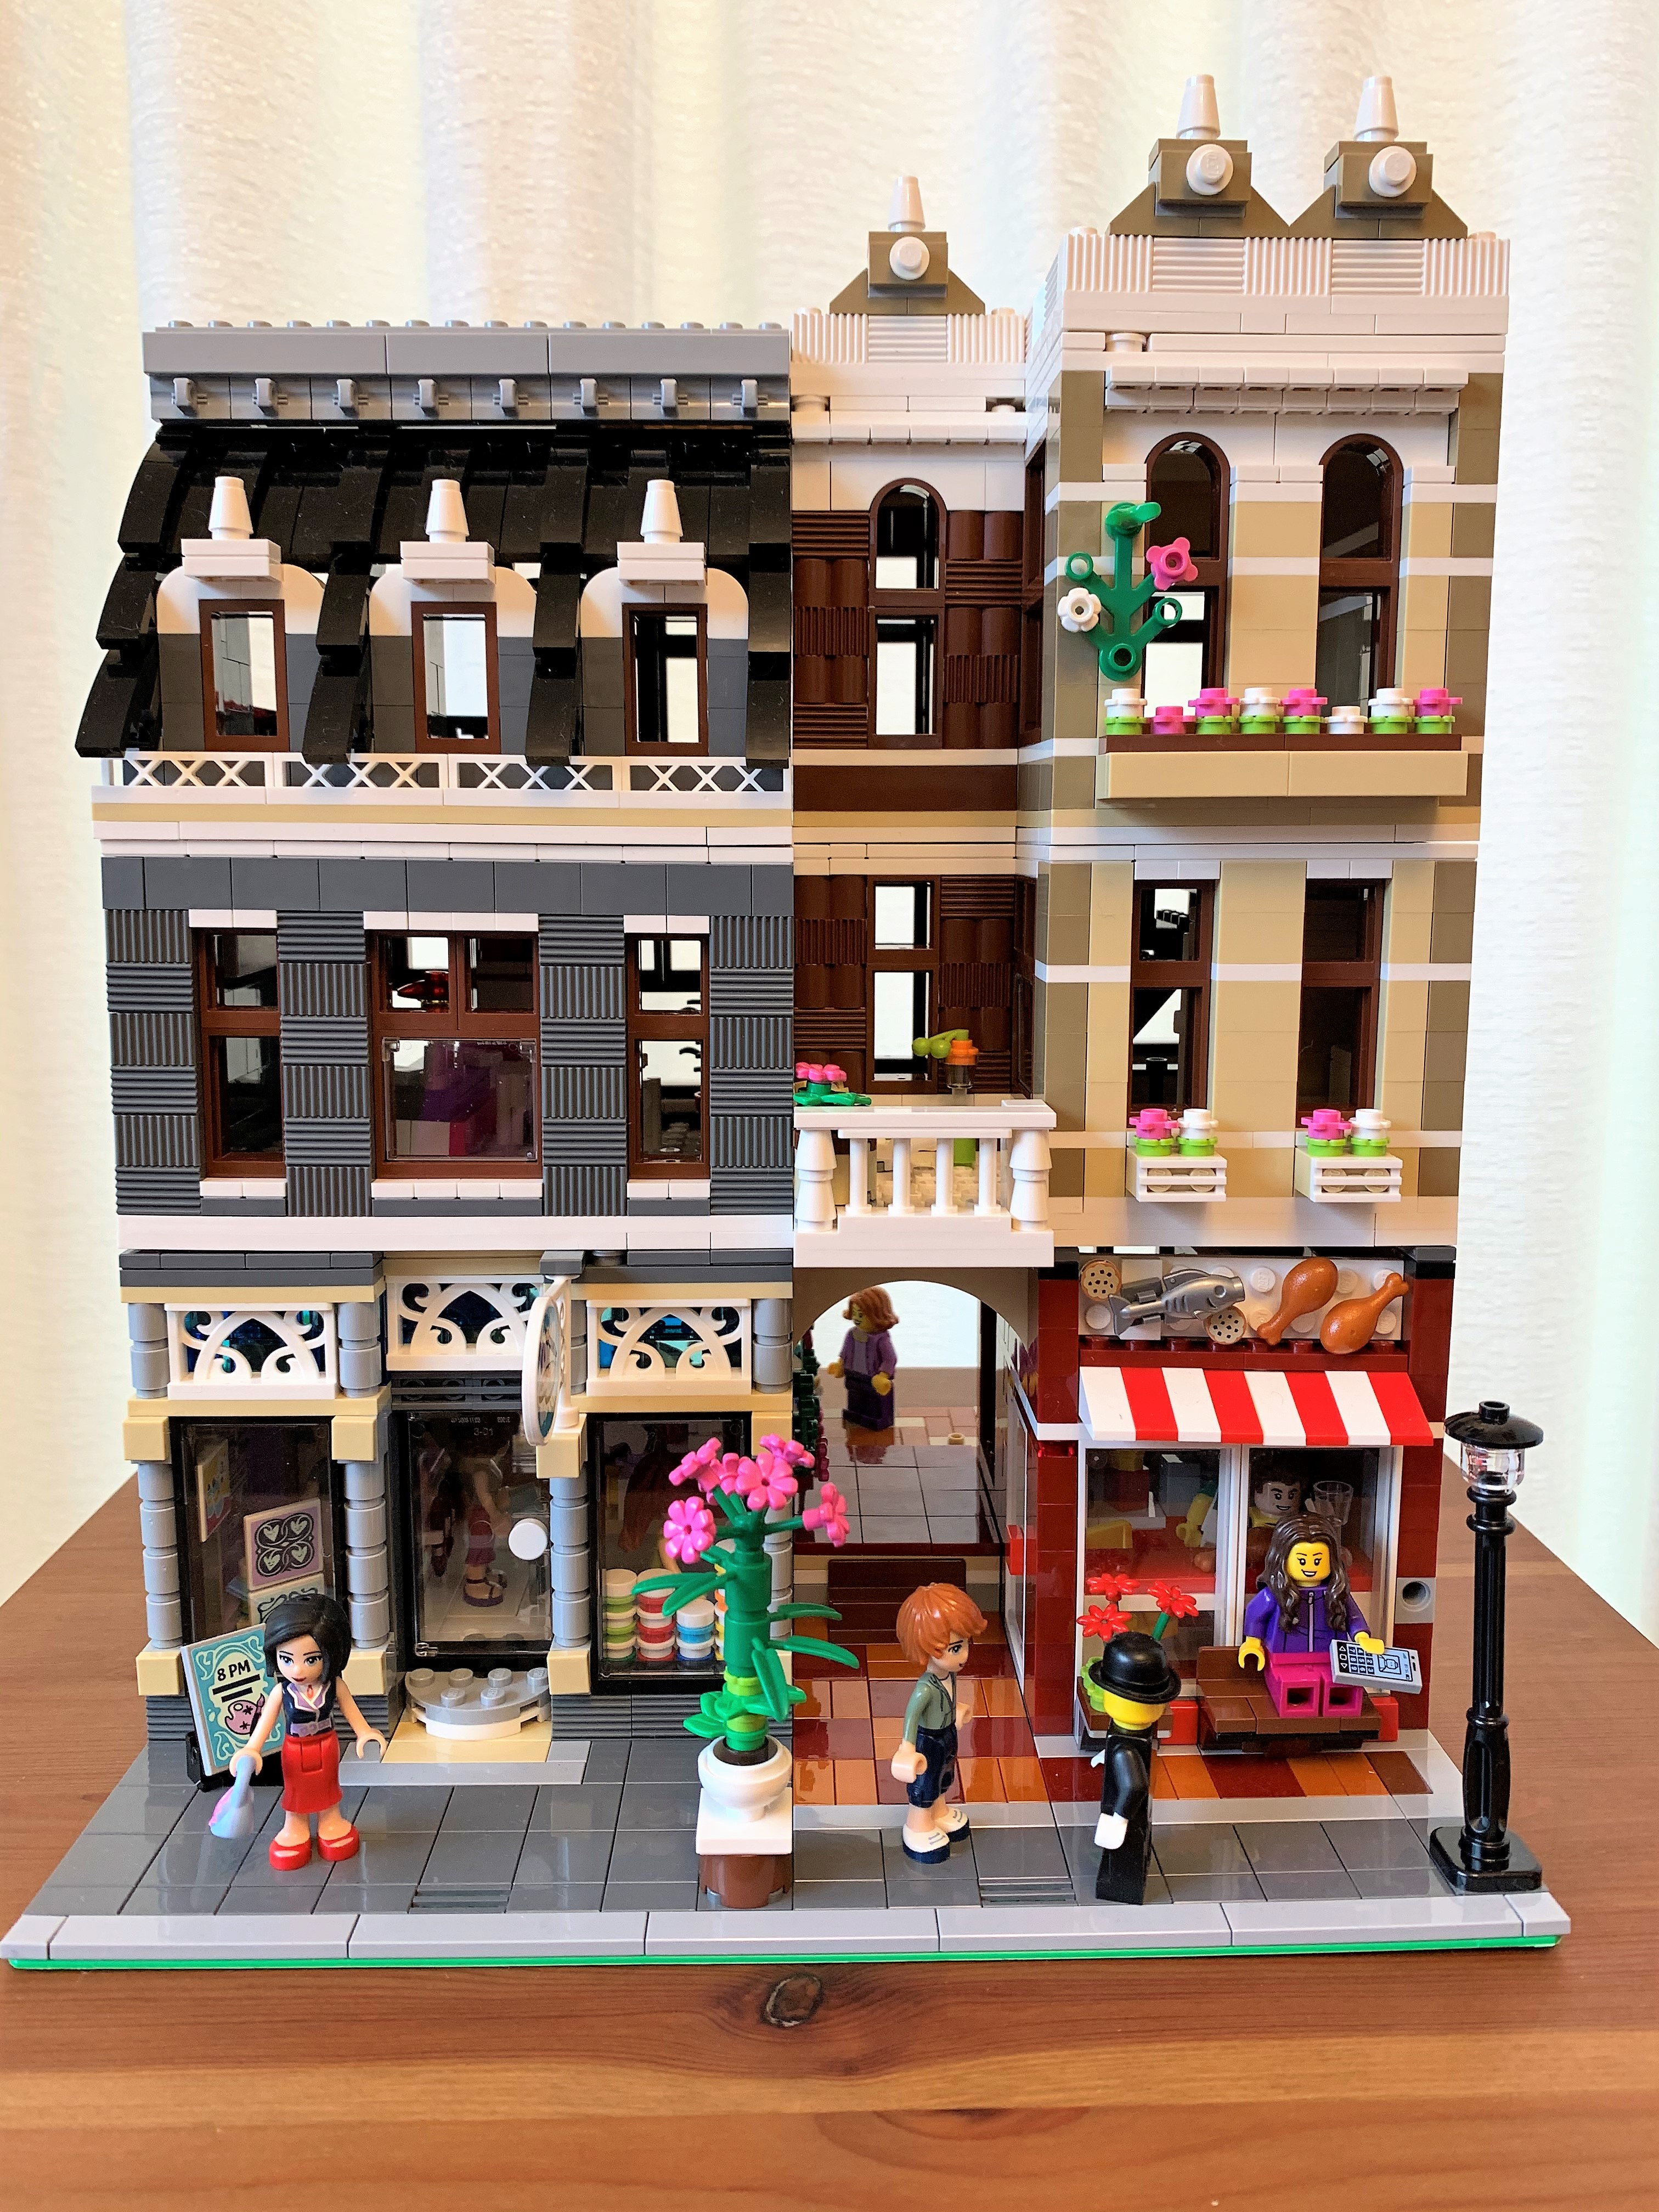
I love to build modular buildings, and many of my modulars are only 16 studs wide. Do I just have tons of money to throw at Bricklink to buy expensive 16×32 baseplates, when 32×32 baseplates are relatively inexpensive? Do I want to pay more than twice as much for literally half the stuff? No, I don’t! I’d rather spend that money on other things (like more LEGO).

So, I buy standard 32×32 baseplates and cut them down.

Now, for those of you who are shocked and want to stop reading right here right now because how could I ever even think about destroying precious LEGO, I hear you. Really, I do. Some of my friends are just like you. Other friends have told me it’s legitimate LEGO usage, and here’s why. LEGO makes big baseplates and cuts them down to the necessary size. Yeah. They do. So how is it different if I do the cutting instead of them? The difference is, I save a bunch of money.

I usually cut down bright green or blue ones, since they’re pretty common and available, and they frequently go on sale for around $5, which means I don’t feel too bad about cutting them up, they’re replaceable, and I get a 16×32 baseplate for $2.50.

Here’s what you’ll need:

  1. 32×32 baseplate of the desired color
  2. Tape or sticky notes
  3. X-acto knife AKA boxcutter, any brand, but make sure it’s nice and sharp. I use a “PenBlade”, because it has some additional safety features.
  4. Some extra MEGABLOKS, at least 32 studs worth. I know you have them from your bulk buys. Keep a few handy for this project. You’re going to be damaging these, so this is a great use for them.
  5. Non-adhesive grippy shelf liner, or some other material to prevent the baseplate from sliding while cutting.
  6. File or fine-grit sandpaper
  7. Surface that you can cut on with your X-acto knife that can handle some damage. This could be a rotary cutting mat, or a workbench.

OK, so here’s how you do it.

  • Count out 16 studs wide on your baseplate, and use the MEGABLOKS to create a cutting edge. This means, 14 studs, then your 2-stud wide MEGABLOKS, then 16 studs.
  • Double check that you have the MEGABLOKS in the right location.
  • Mark the non-cutting side using tape or sticky notes, so you know which side to cut on. Plan to orient the baseplate so your dominant hand is cutting easily (ie, if you’re right-handed, the 16-wide side should be on the right).
  • Place the shelf liner on top of your cutting surface.
  • Place the baseplate on the cutting surface.
  • Using the X-acto knife, place the blade along the edge created by the MEGABLOKS and gently but firmly slide the blade along the edge to create a very shallow cut in the baseplate surface.
  • Repeat this several times, cutting a little bit deeper each time. This may take a little patience, and you can try cutting more firmly, but your goal isn’t to cut all the way through.
  • Once you can see that you have made some progress into cutting through the plastic, lift the baseplate and try to fold the baseplate back on itself (undersides together).
    • If you have cut far enough through, the baseplate will fold along the line, and you can fold it back and forth several times until it starts to break apart. You may need to finish it off with the X-Acto blade if it does not completely break apart on its own.
    • If you have not cut far enough through, the baseplate will not fold easily, it will just bend (don’t force it). If this is the case, simply repeat the cutting step several times more, trying to get the blade to go a bit deeper, then try again.
  • Once you have broken the baseplate into two pieces, remove the MEGABLOKS and save them for your next cutting session or throw them out, as they are probably damaged.
  • Use the file or sandpaper to smooth the cut edge and round out the cut corners.
  • If there is a lot of “sawdust”, wipe it off with a damp paper towel.
  • Rinse your new baseplates under running water to remove any remaining sawdust and dry them as desired.

Congratulations! You now have two 16×32 baseplates, ready for your next half-width modular building! Or, for whatever you want to use them for. You can apply this same technique to whatever size baseplates you want, and any starting size. Some train friends of mine cut up the large gray baseplates to fit their train tracks on. You do you!

Jungle Adventure

I created a Jungle MOC as part of a collaborative build for my local AFOL user group, BayLUG, in 2021. We displayed it at our online Bricks By the Bay convention, and later in the year we were able to display it in-person at our Holiday Show at the Museum of American Heritage (MOAH) in Palo Alto, California. It was really cool to see the whole scene come together. It was my first convention where I displayed something, and then my first in-person display. My build was just a small part of the whole collaboration, but I had a lot of fun building it and I think it looks pretty neat. You can watch the video of it, where you can see my whole MOC, below. Can you find all of the scavenger hunt items?

Scavenger Hunt:

  1. gold key
  2. gold statuette
  3. hot dog tree
  4. a person dressed up like a tree
  5. box of skulls

You can get to know the adventurers in the video best if you sneak a peek into their Adventurers’ Journal. Here’s an excerpt from their time in this section of the river.

  • Today, the river narrowed and we were forced to take apart our boat to carry it through the narrow opening.  Fortunately, we had brought along a brick separator, and the local people were friendly and helped us build it again.  It took us all day, and the locals invited us to stay for the night.  
  • They offered us their tree house for a bit of shelter, but as we entered, we could see that a skeleton with a sword was guarding a treasure chest full of gold.  Too haunted for us!  We decided we were better off avoiding nightmares and sleeping under the stars.  The tree house seemed to be a hangout for the children, because we could see they had set up a zip line from it to the other side of the river where the cooking was taking place.
  • We found a map so we were able to identify our location and choose the best route forward.  The locals prepared a feast of local specialties including roast beast, fish and hot dogs.  We saw a huge swarm of butterflies as well as a number of other odd creatures.  There was a wide variety of plants but none of them were edible.
  • When we told the locals we were looking for a gold statue, they showed us all of their gold items.  They told us there was a legend that a large statue of Mr. Gold had been found in these parts, but they had never seen it.  The legend said that the statue could be found further downstream.  In fact, the local outpost sold miniature Mr. Gold statuette souvenirs, and they showed us the one they had.  We were glad to hear of this tale, and now we had an idea what it might look like – but then again, the outpost owner might have just made it all up to drum up business and sell trinkets to tourists to finance their own search for Mr. Gold. 

Sweet Pea’s Surprise

sweet pea habitat

LEGO Habitats, little vignettes built on an 8×8 plate that stack together, are a fun way to boost your imagination and get your creativity hopping. The idea is to pick a minifig (choose one, or pick one randomly if you’re feeling adventurous) and build them a little habitat related to their theme.

Sweet Pea tends her garden, full of carrots, pumpkins, a ladybug, and a butterfly. She can even rest in the shade of a nearby tree. What a pleasant and not at all scary place to spend her days! Sweet Pea, don’t look behind you!

To build your own minifig habitat, you can follow these instructions I made. I didn’t come up with the original design, but I’ve made it easy for you to follow the instructions. Use whatever bricks, plates, and other parts you have on hand to customize your own minifig habitat. Trust me, your minifigs will thank you (unless you put spiders in their garden, and then you might want to sleep with one eye open).

I’ve used all white pieces, but you should use whatever colors your heart desires! The dimensions are the key thing to keep in mind. The plates on top are used to connect multiple Habitats together.

A Reason To Build My First LEGO Ball

I had been wanting to try building one of those cool spherical LEGO balls that I’ve seen all over the web for a while but had never really gotten around to figuring out if I had enough of the right pieces in the right colors.

Well, I did have what I needed, and a good reason, too – our local LEGO User Group BayLUG is doing a Quarantine-Themed MOC show and tell.

So, here it is, in all it’s glory.  I got a little assist from my LEGO DC Comics Minifigures, who heroically donated their antigravity boosters so there could be a red corona around the pesky little villain.

coronavirus_lego_adjusted

The Journey of the Land Rover Defender Build

01 land rover

I’ve been working with LEGO for several years now, and the Creator Expert sets have been a favorite of mine.  The more pieces, the better, I say!  Sometimes I’ll take a few minutes to figure out what the instructions want me to do, or I’ll have to pull off a couple of pieces when I realize I’ve made a mistake.  It’s immensely fun, but it’s not much of a challenge to get it right.

Enter the LEGO Land Rover Defender (#42110), part of the LEGO Technic line.  I’d built a few things that had a handful of Technic beams and some gears, and those felt like a different beast than my classic LEGO blocks.  Now amp that up to a thousand!  The Land Rover Defender is an awesome build, and it’s quite large.  It’s definitely up there in the piece count.

What I didn’t take into account, and what I learned about 50 pages in, is that it is easy to make a mistake, and when you realize you’ve done so, it may be 48 pages back.  Yup, it happened to me.

TIP #1: Pay attention to the difference between “symmetrical” and “almost symmetrical” when you’re turning your build every which way to put the pieces into place.

Because of the way the Technic pieces interconnect, I ended up needing to take it apart instruction by instruction until I got to the point where I had made the error, in the first few pages.  Oops.

I really enjoyed working on a more challenging build.  I made some mistakes and there were certainly a few times I triple-checked to ensure I had it right before placing the next piece, but it was refreshing to stretch my brain in new ways.

TIP #2: Good lighting helps!

Having good overhead and task lighting definitely helps to keep your project running smoothly, so you can see exactly what you’re doing.  Yes, I did at one point get out a flashlight.

So, this build took me longer than usual to put together, but I finally put the last piece on last night!  The Defender comes with some cool features, like gearing, doors that open, etc.  As I was testing each function to see how it works, I thought, “Well, this is an interesting design choice.  The car only moves forward and back by a few inches.  I guess that’s to keep it from rolling off your display shelf!”  But then I realized…LEGO probably didn’t have an entire intricate gear system for a vehicle that isn’t intended to move.

Well, like any good mechanic, I turned the Defender upside down and attempted to figure out what was preventing it from moving.  This is where the flashlight came in handy.  I did end up removing the roof and parts of the undercarriage to troubleshoot the problem.  I determined that the reason it wasn’t able to move very far was because the rear wheels each spun in opposite directions.

07 land rover

Eventually I isolated the issue to some gears that I would have thought should be moving but weren’t.  During one session with the undercarriage removed, I rebuilt part of the gear system, and a gear that had previously been frozen finally started moving.  I put the car back together and it worked great!  Unfortunately, I had 4 extra pieces that had been on the vehicle somewhere previously!  This morning I looked through the entire 450+ page manual to find where the particular parts had been placed, and I was able to identify it.

08 land rover

Which brings me to…

TIP #3: Have fun, and if you make a mistake, consider that as part of the journey.  I learned a lot more from the mistakes I made building this (and troubleshooting them) than I would have if it had all gone perfectly smoothly.  I certainly have a greater appreciate for this new-to-me Technic line.

So now, after many hours of building and a couple more hours of troubleshooting, my LEGO Land Rover Defender is ready to tackle the rough terrain of…a display shelf.  But not until after it takes a little trip for a photo op outside!

Not exactly minifigure scale….  The Land Rover Defender would win in a matchup against Elvis’ pink convertible for sure.

This slideshow requires JavaScript.

Poppy’s Essential Art Supplies, Part 2.5

I’m back again with more about the roof.  I wanted to show some examples of the roofs that I used for inspiration for the pitched roof of Poppy’s.

On the left photo you can see my dormers, and on the right you can see the Pet Shop (#10218) from which I took some inspiration.

I liked the curved tiles of the Parisian Restaurant (#10243), so I tried to mimic it.  The Parisian restaurant uses more than one size of slope tile, and I only had one size in black, so I had to create the textured effect that I liked in a different way.  Mine is on the left, and the Parisian Restaurant is on the right.

And finally, I wanted to have a rooftop patio hidden behind a pitched roof facade as in the Asembly Square (#10255).  Mine is on the left, and the Assembly Square is on the right.

Poppy’s Essential Art Supplies, Part 2

Today we’re going to take a deeper look into the pitched roof on the left side of the building.  I was inspired by the partially-covered rooftop patio on the center building in LEGO Assembly Square (#10255).  I like how the front of the original building had a nice steep curve, and then was open in the back for a little al fresco dining.  I wanted to mimic a similar effect, while having it partially closed off – I didn’t need a huge rooftop area, just a comfy place to hang out.  This was also one of my first forays into roof building.  I’ve done a few flat roofs with a little decoration, but I wanted this roof to have more interest.

02-01 external roof detail

Taking a little inspiration from the curved bows used for the roof in LEGO Parisian Restaurant (#10243) and from the dormers in LEGO Pet Shop (#10218), I built this roof with a texture and variety that I like.  The ridgeline is actually not attached to the black roof at all – it extends outward from the white flat roof.  Hinges allow the plates used as the roof backing to sit at an angle.  I really like the effect it made in the end, but I wish that I had some longer 1x plates so that the parts of the roof that extend downward past the dormers wouldn’t be so fragile.  I definitely had to use a very gentle hand to keep from knocking pieces of the roof down.  But once I got all of the pieces together and made it more sturdy, it hasn’t fallen apart at all.  I’m inspired to get some tweezers with rubber tips on them to extricate tiny LEGO pieces from crevices when they fall into the model!

You can see a little of the rooftop patio from the front – just a little sneak peek!  We’ll get to that in a future post.

Poppy’s Essential Art Supplies

This will be a multi-part series where I show a LEGO MOC (My Own Creation) that I built.  I started out following the instructions for the LEGO Creator Expert Detective’s Office (#10246), but quickly took my own path since I really didn’t have the right pieces!  But it was a good way to get started, since this was one of my first big MOCs, and I liked the setup of the Detective’s Office because it wasn’t just a basic rectangular building (like my MOCs sometimes end up being).

We’ll start off this series with some shots of the front exterior.

01_external front face

Here we have a face-on view of the building.  Poppy’s Essential Art Supplies is located in the first floor unit on the left, well situated near a fast food joint, where an art enthusiast can grab a quick meal before their 8pm painting class, being held through the alley on the back patio.  In the windows of the art supply store you can see stacks of paint pots and quilts on display.  It looks like there might even be a sale going on!  The store looks packed from out here.  The blue and turquoise stained glass windows above the front of the shop give a nod to the building’s heritage as one of the first buildings in the blue light district.

Next door, the fast food joint serves a small selection of easy eats.  It’s entrance from the alley allows a full counter along the front windows to diners can watch the traffic go by.  Shoppers and inhabitants of this part of town appreciate the comfortable and well-lit bus bench where they can check their phones, admire the potted plant, gnosh on some french fries, and wait for the #23 bus to come by.

Here’s some further detail on the upper floors above the craft store.  The grooved bricks were also a holdover from the blue light district days, but these were actually rescued from a building a few doors down, which was completely disassembled to make room for a new LEGO store.  It’s great to see old bricks being reused!

02-01 external front detail